I do love Valentine’s day! While people say we should appreciate the ones we love all year round (which I totally agree with), the truth is that life is just so hectic that we don’t always appreciate them as much as we should. So I think that it is nice to have a date in the diary for us all to make an extra special effort to show we care. And nothing shows you care more than a handmade Valentine’s gift in my opinion. I wanted to share with you a gift that is not only simple for you to make yourself but you can adapt it and customise it depending on who you are giving it to and what you like. It is also an environmentally friendly gift!
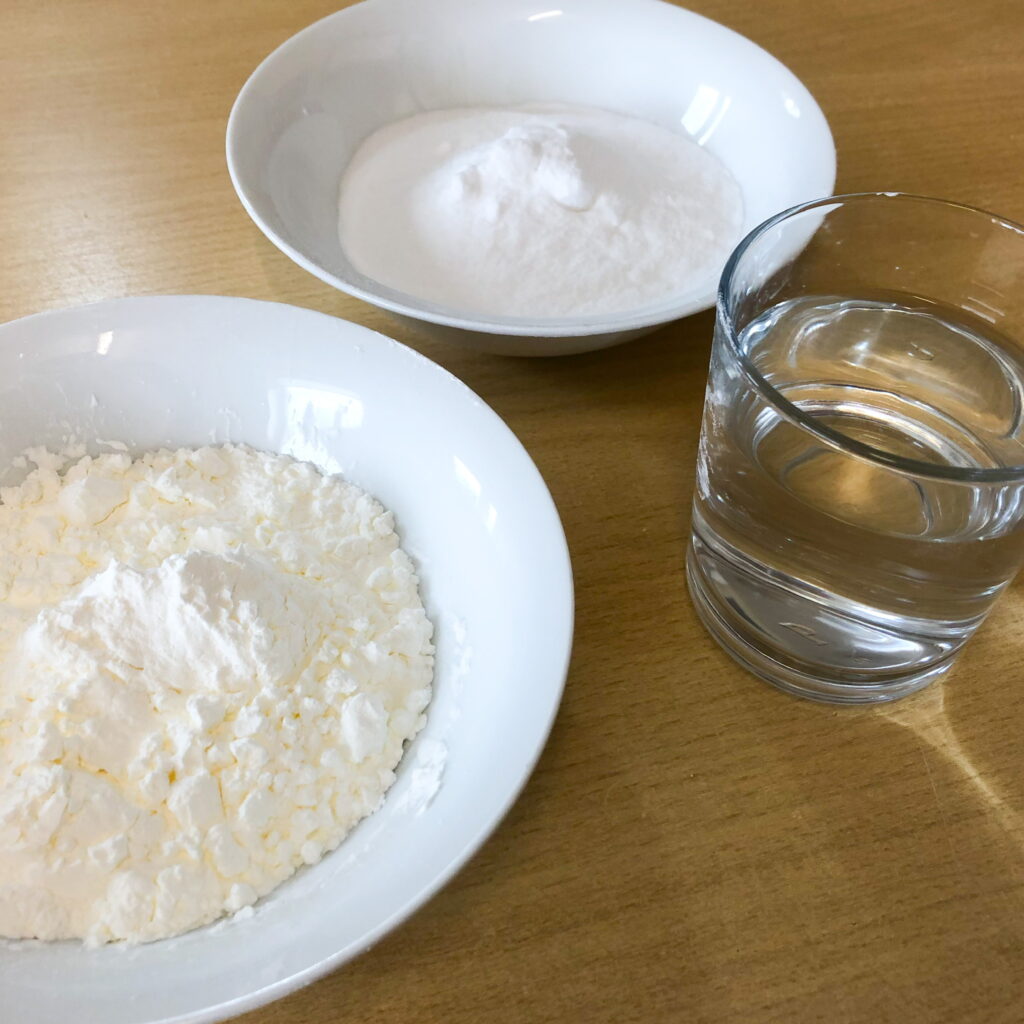
What you will need to make your handmade Valentine’s gift:
1/2 cup of cornflour
1 cup bicarbonate of soda
3/4 cup of water
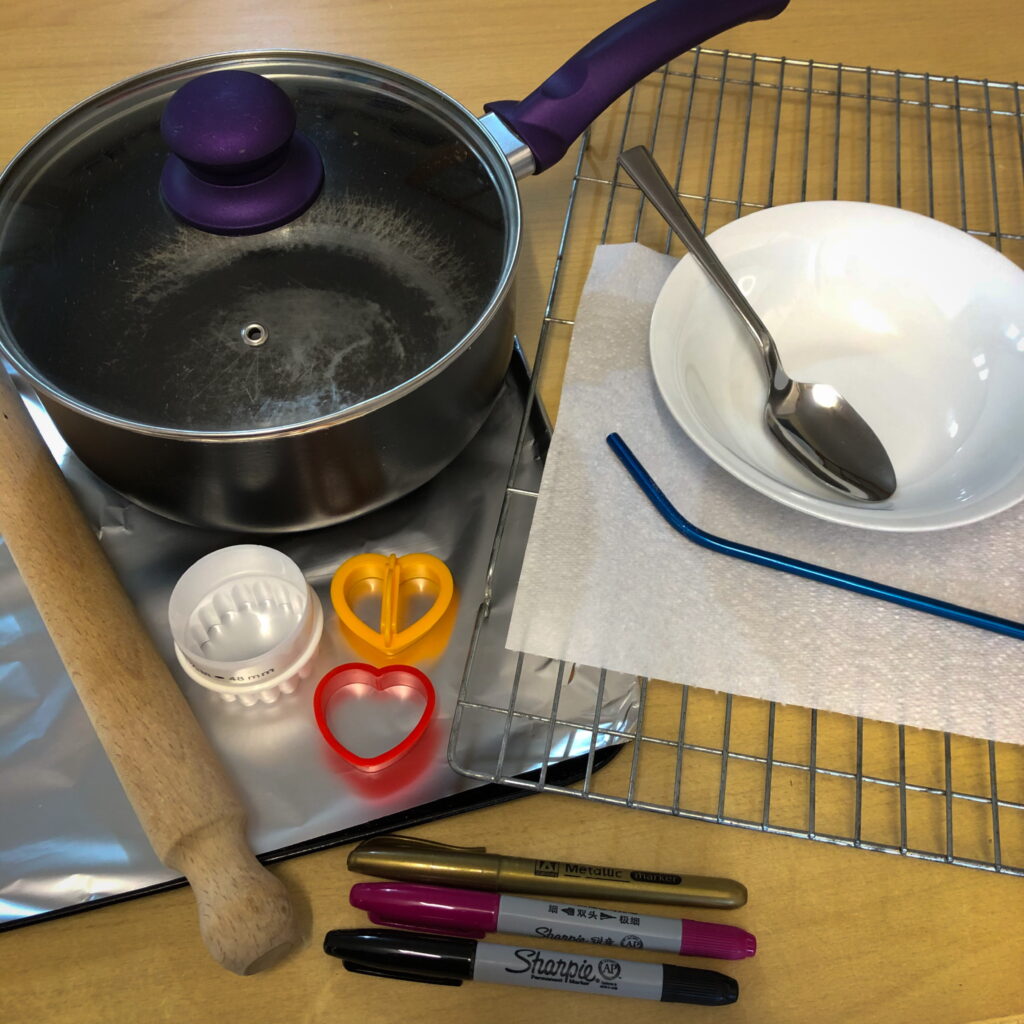
Equipment:
A saucepan
Bowl
Spoon
Kitchen roll
Cookie cutters
Lined baking tray
Rolling pin
Reusable straw
Wire rack
Decorating materials of your choice
Step-by-Step:
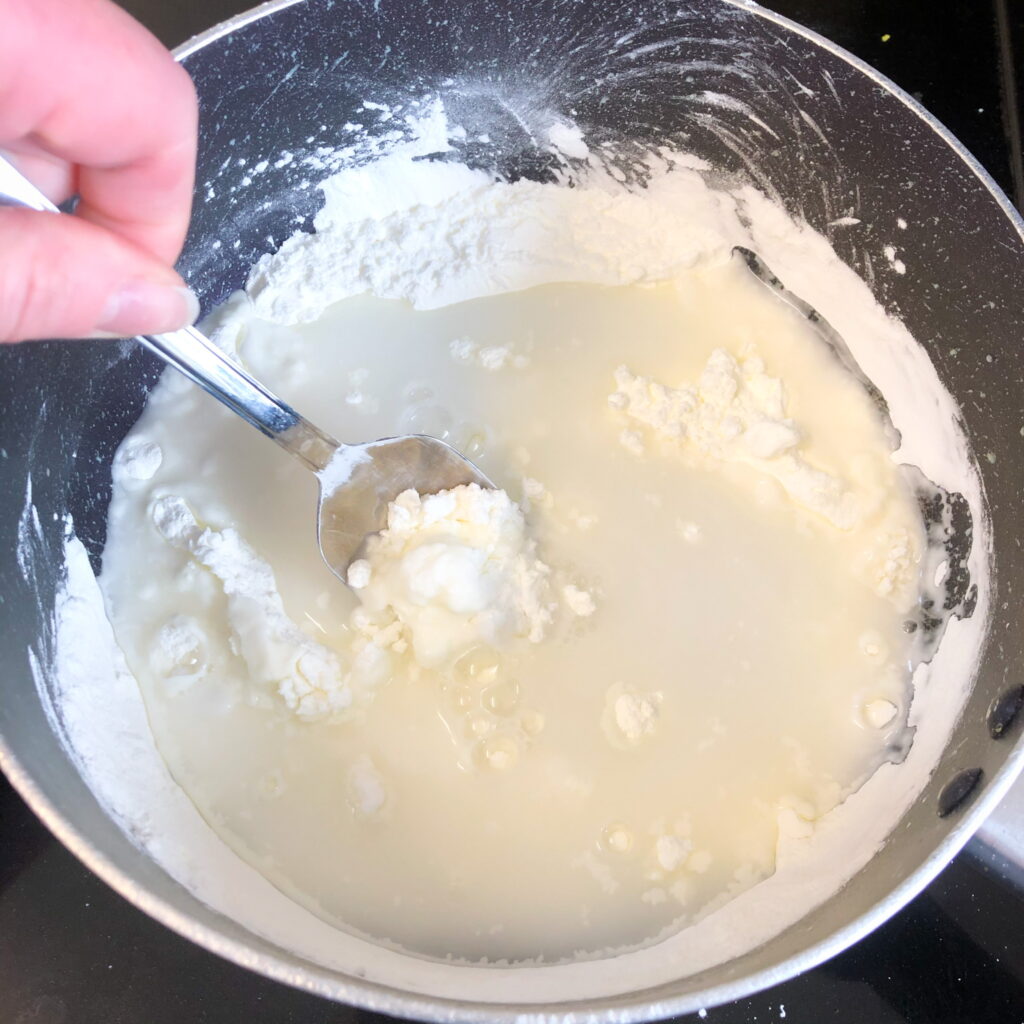
Step 1:
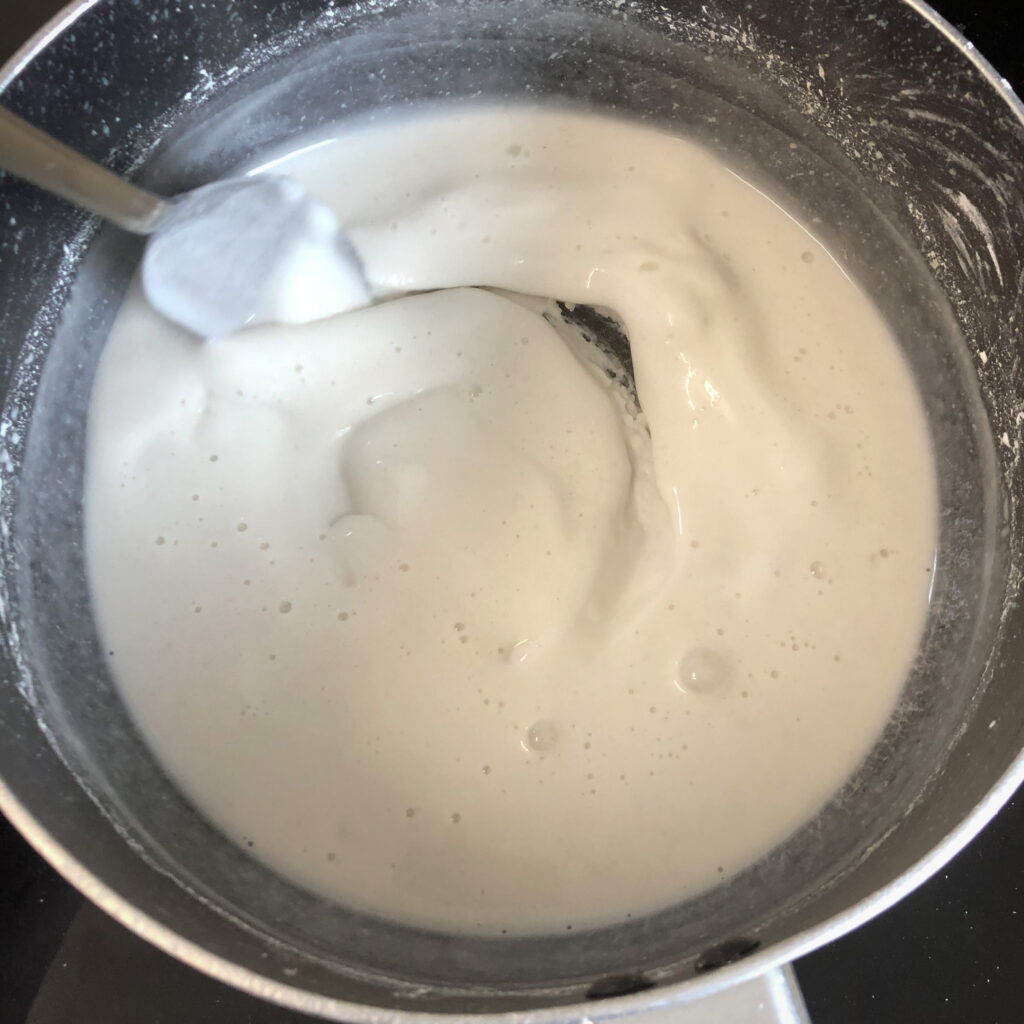
Pop your ingredients into a saucepan and give them a good mix. Continuously stir the mixture over a medium heat until it thickens and combines together to form a slightly sticky dough, which can take about 15-20 minutes to happen.
Step 2:
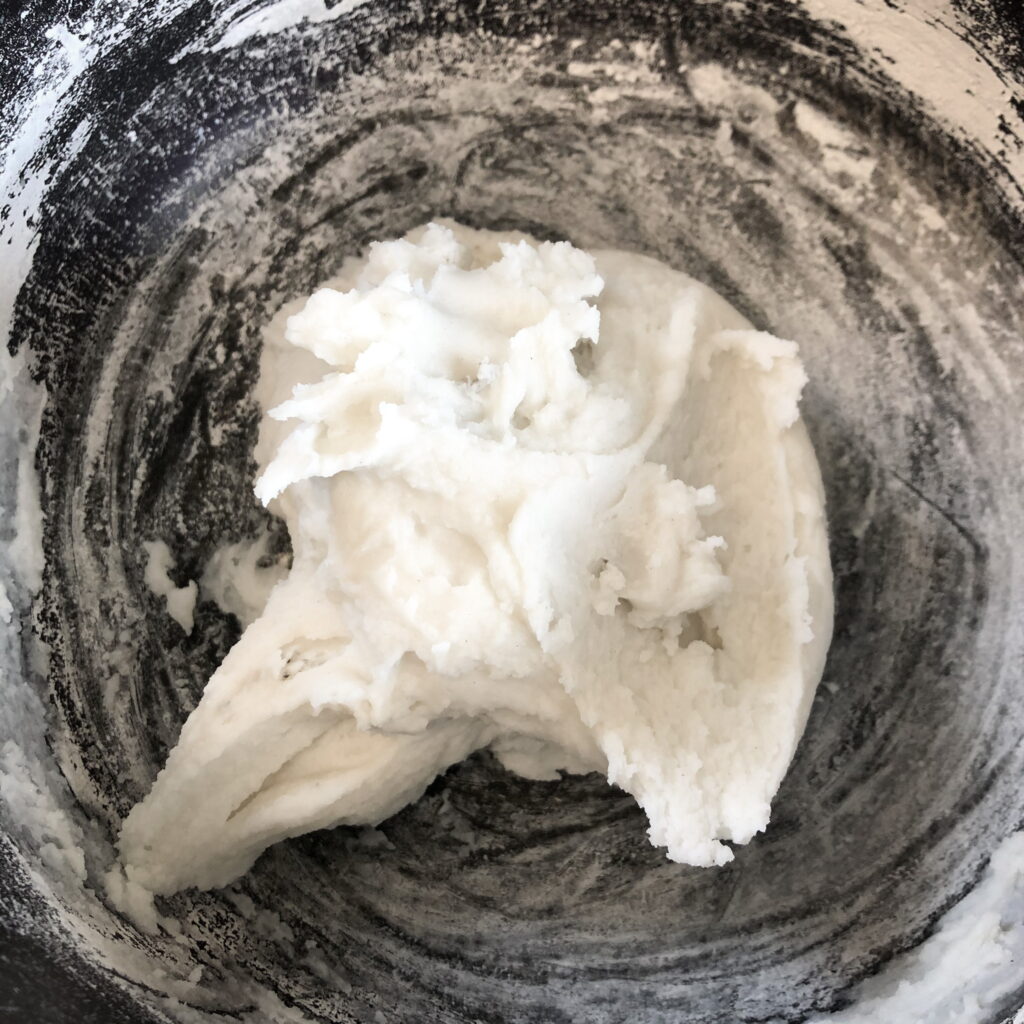
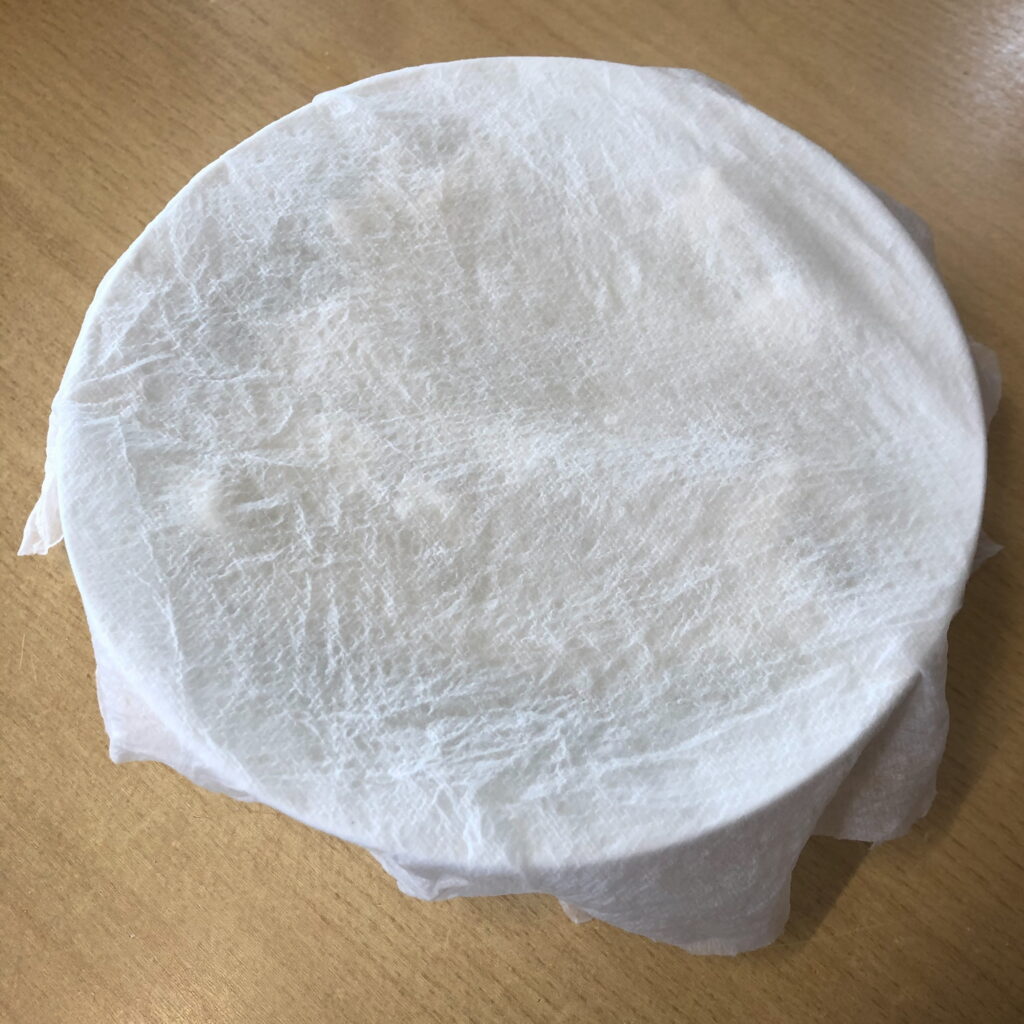
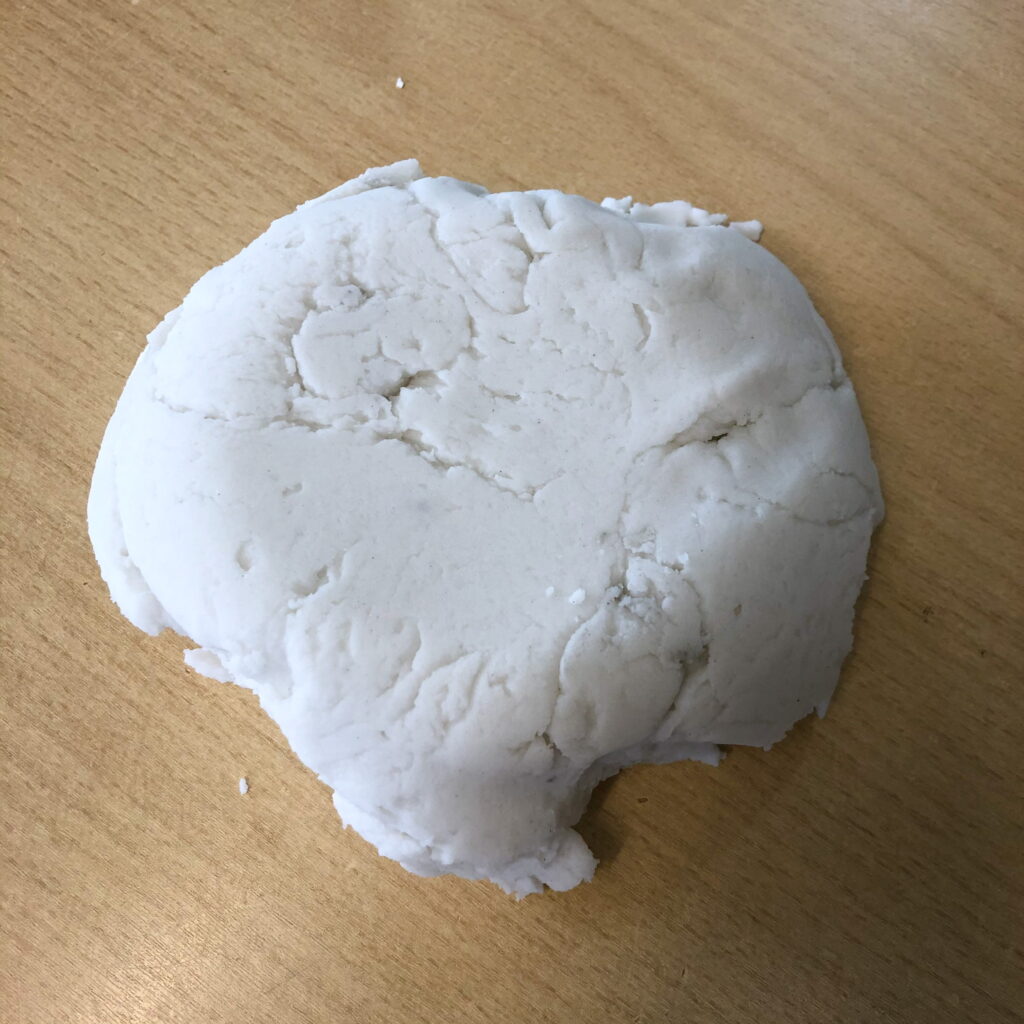
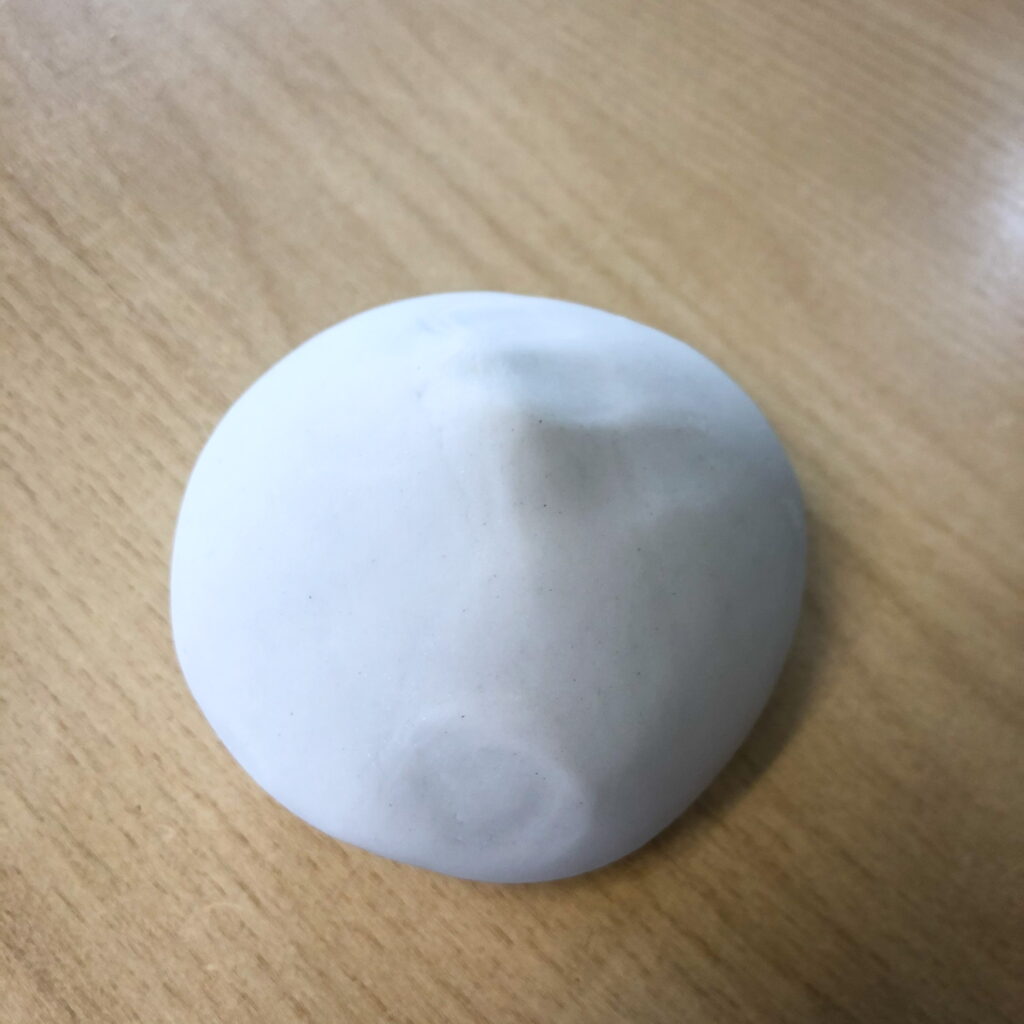
Put the dough into a bowl with a damp cloth or damp piece of kitchen roll over the top and leave to completely cool. Once cooled, knead it until it forms a smooth dough which should only take a couple of minutes. If the dough is a little sticky then use cornflour to dust the surface you are working on.
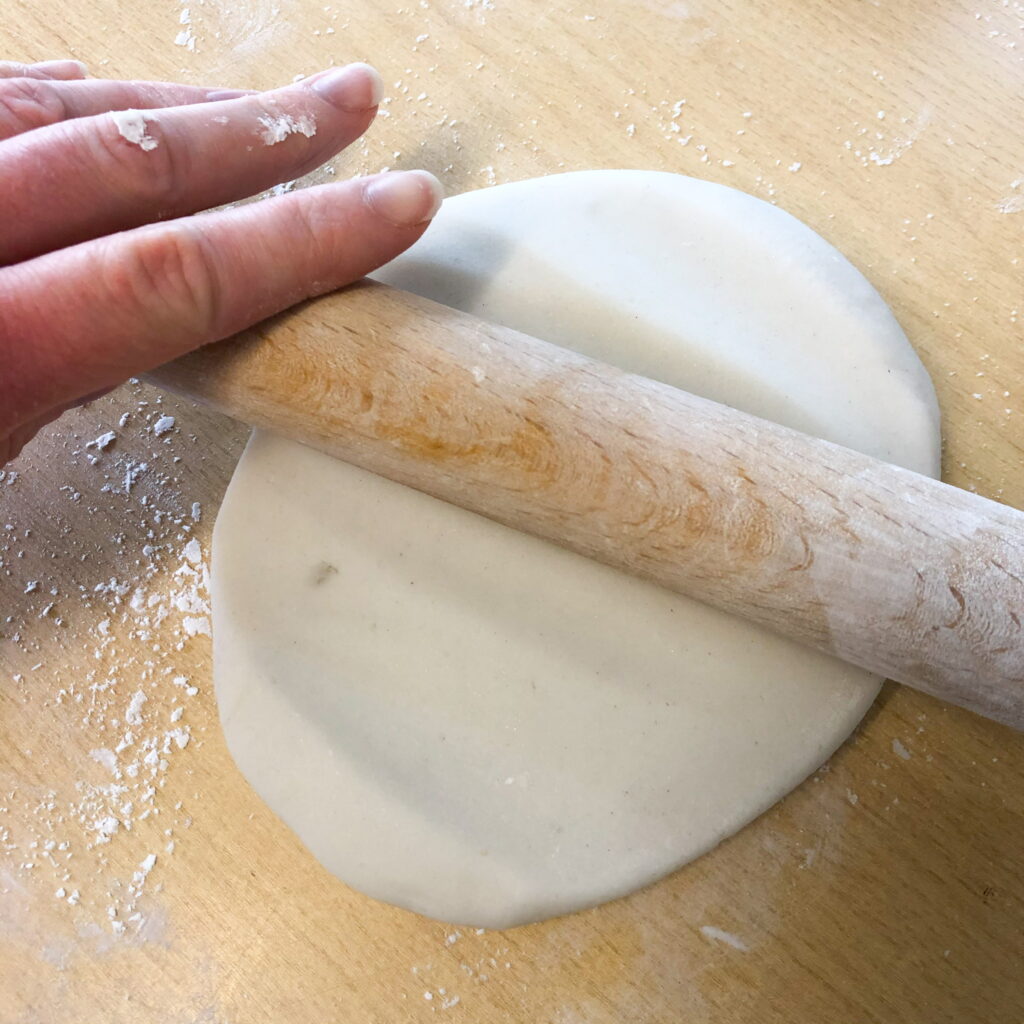
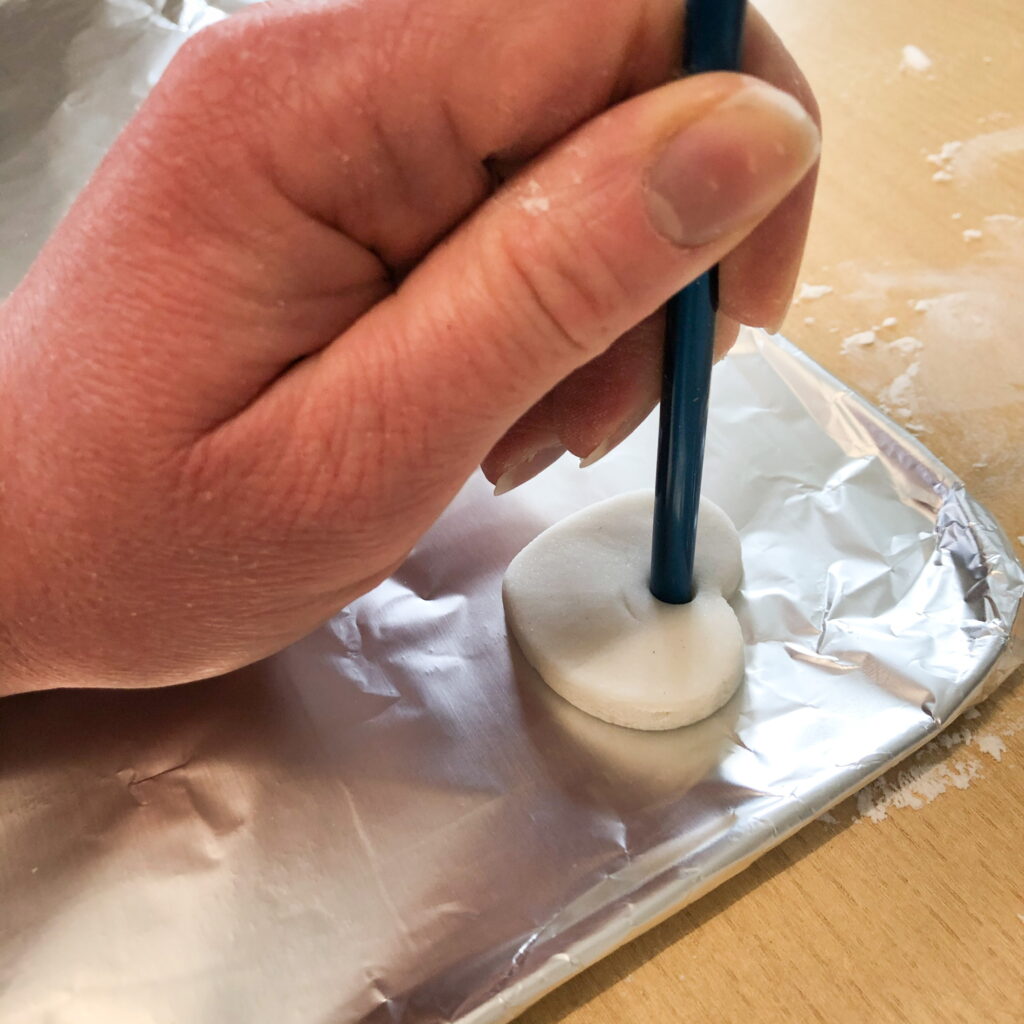
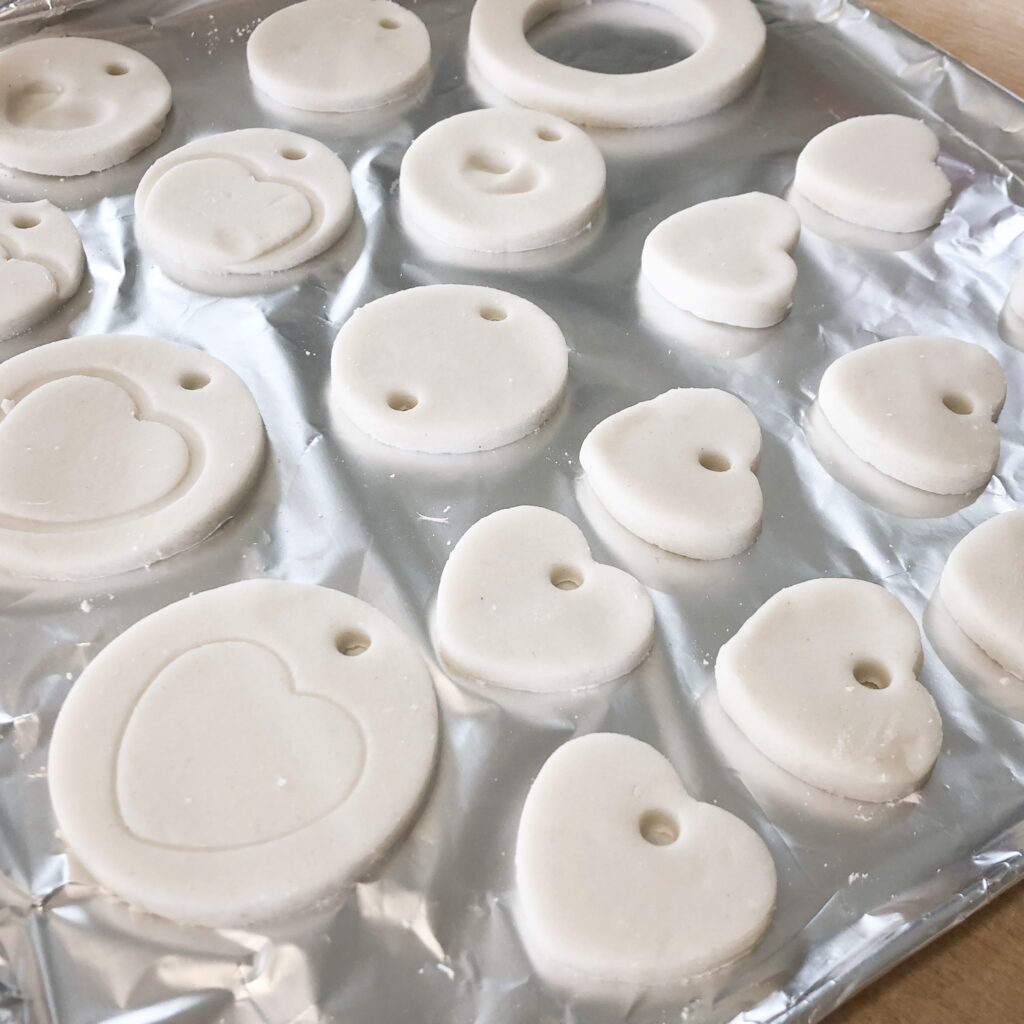
Step 3:
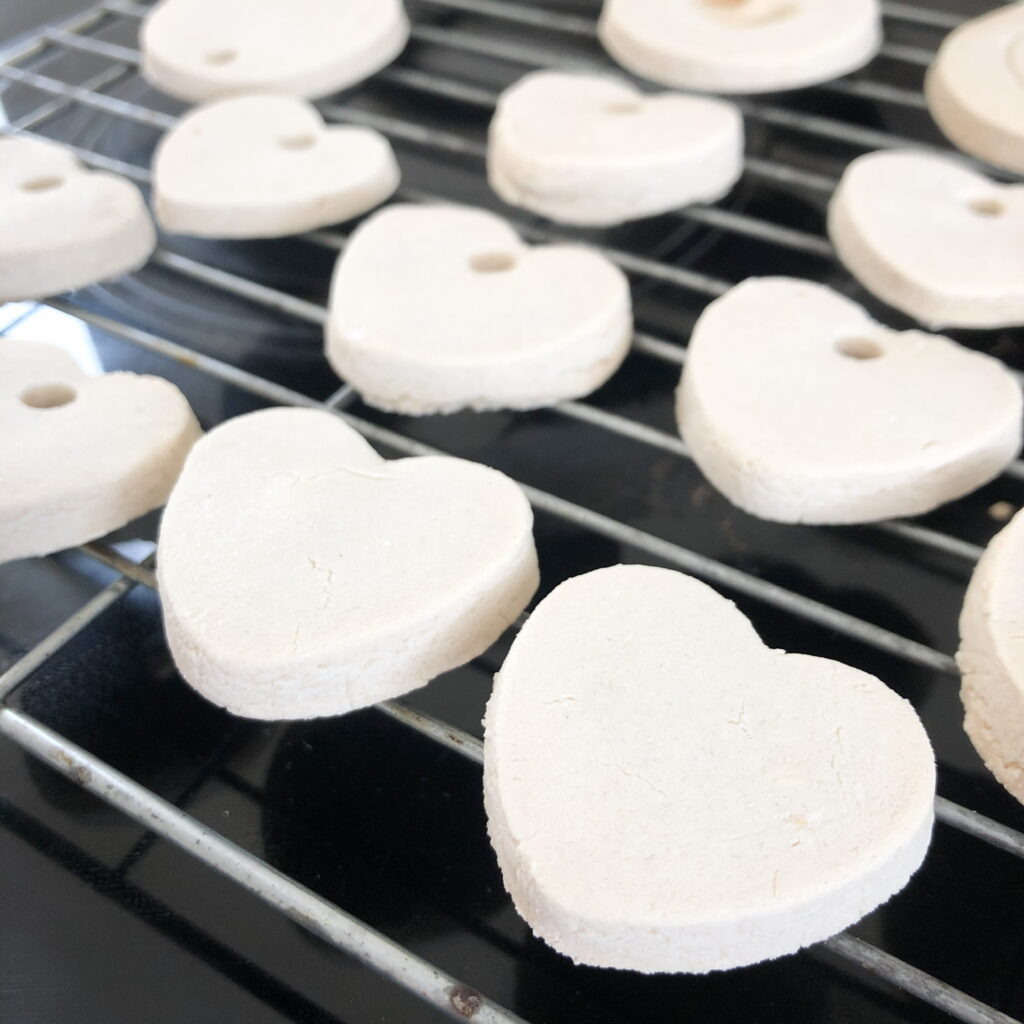
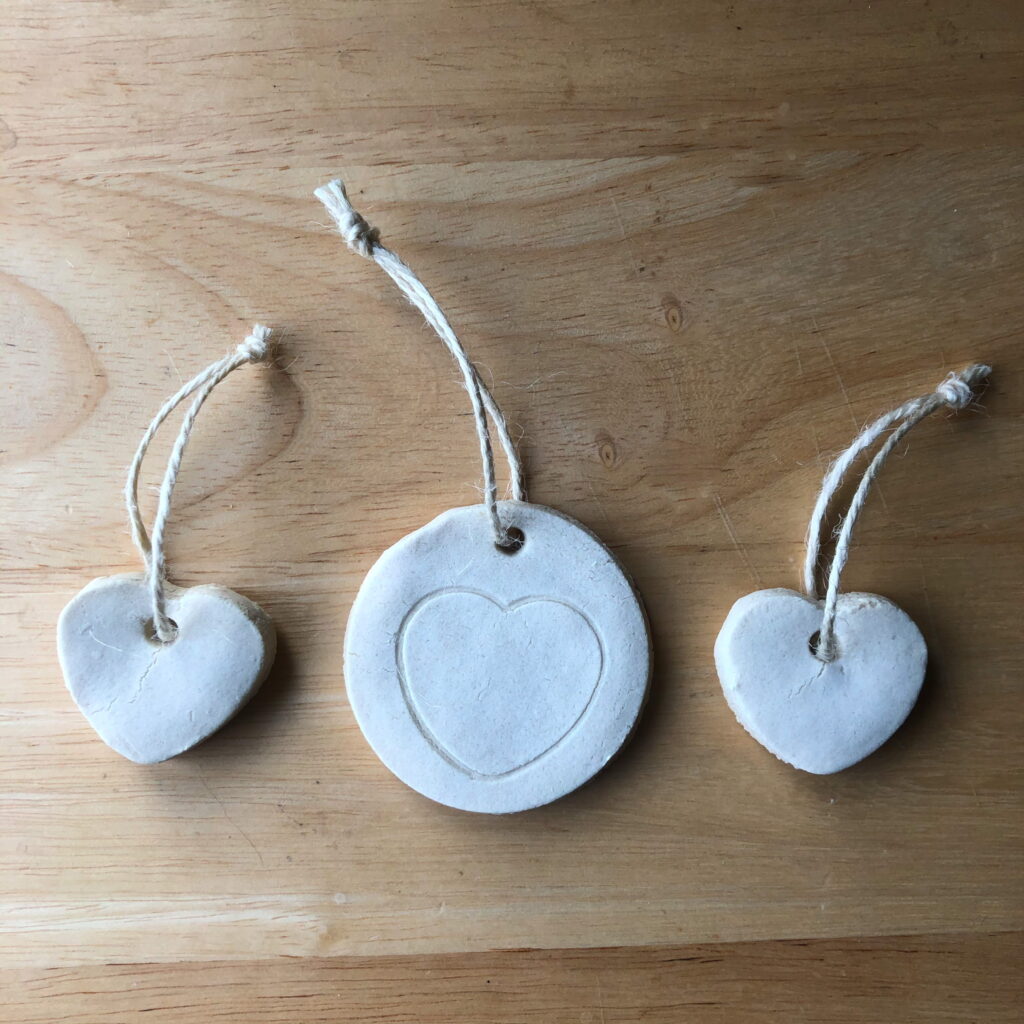
Pre-heat the oven to 170 degrees. Roll the dough out to roughly 5mm thick and use cookie cutters to make whatever shapes you want. If you want to hang your decorations then use a straw (preferable a reusable straw) to create a hole in the dough. Place your shapes on a baking tray lined with tinfoil or grease proof paper.
Step 4:
Bake for 20-30 minutes, but keep a close eye on them around the 20 minute mark so that they don’t turn brown on the top! I took mine out after 25 minutes but I think they could have come out a couple of minutes earlier. Once out of the oven, leave them to cool on a wire rack.
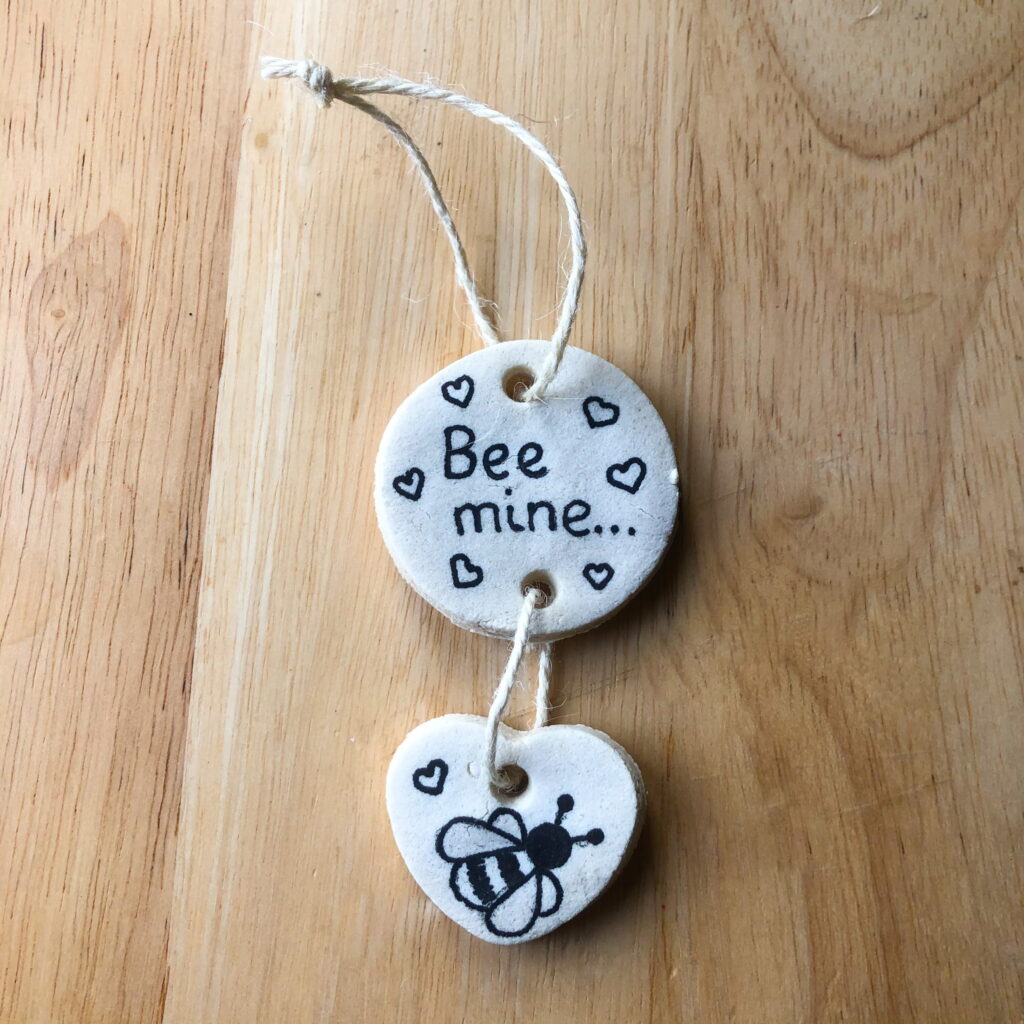
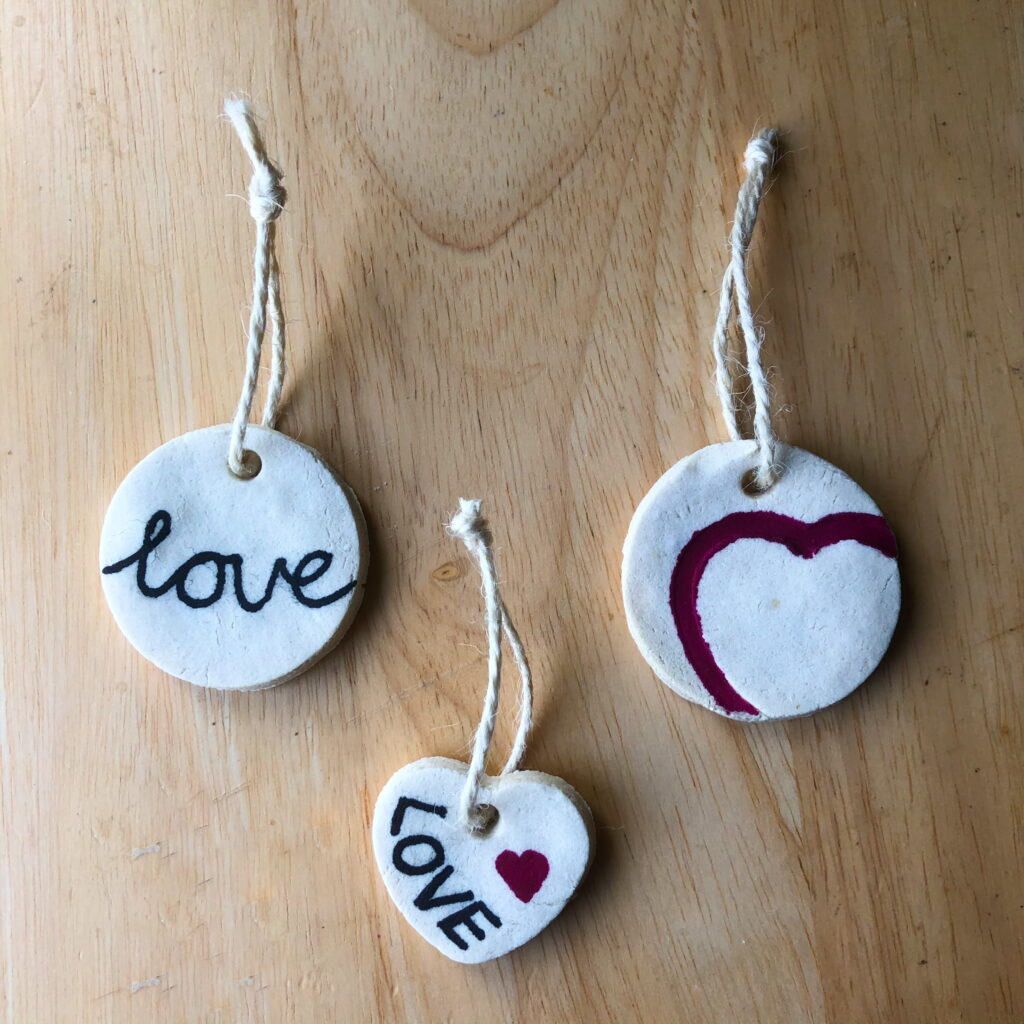
Step 5:
Now it’s time for the fun bit! You can decorate them in lots of different ways, but to keep mine environmentally friendly I have chosen to decorate mine with permanent marker pens. Then I added a loop to hang the decorations with garden twine.
Happy Valentine’s!
I hope your special someone enjoys their handmade Valentine’s gift and I wish you all a very Happy Valentine’s Day for tomorrow! For more inspiration for cosying up this Valentine’s Day, check out my last blog post all about Hygge. See you in 2 weeks for my next post, but don’t forget to check out our Facebook and Instagram pages for more posts during the week.
Take care,
Jem X