One of Life’s Little Thing’s that brings me a lot of happiness is food. Especially food that brings back memories of a happy time, place or a person. When I was a little girl, my Nanny used to make the best Lemon Drizzle cake! I remember her making it for me when I was poorly to cheer me up and I remember everyone fighting for the crunchy, tangy edges of the cake because they were the best bits. There are so many happy memories attached to Lemon Drizzle Cake for me that whenever I make it or eat it, I can’t help but smile and think about my Nanny. For this blog post I wanted to bring you a recipe, so what better recipe as we begin to leave spring and enter summer than Life’s Little Things Luscious Lemon Drizzle Cake.
What you will need to make Lemon Drizzle Cake
1 Lemon
6 oz Self Raising Flour
6 oz Caster Sugar
3 Eggs
6 oz Butter
1/2 tsp Baking Powder
Icing Sugar

Equipment
Bowl
Scales
Electric Handmixer
Sieve
Cake Tin
Fine Grater
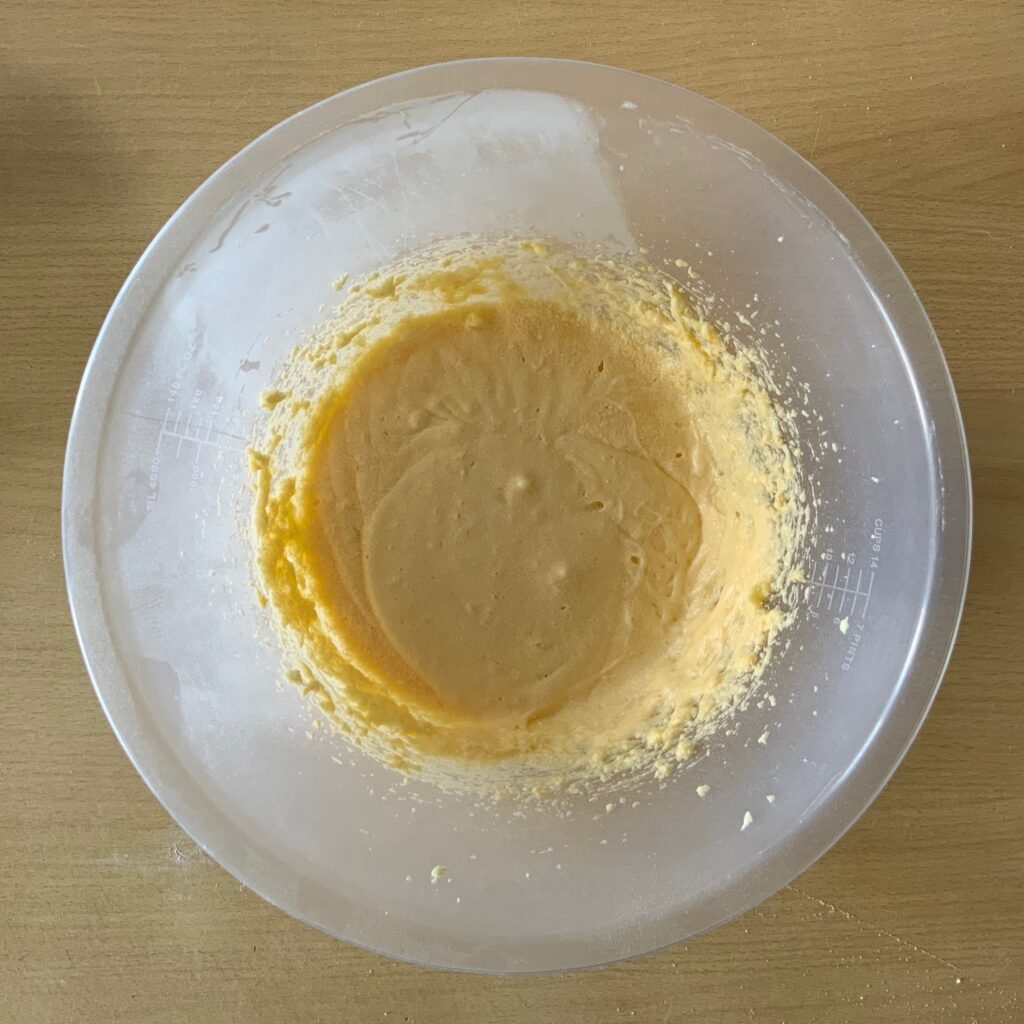
Step 1
After weighing out your ingredients, cream the butter and sugar together in a bowl with the electric handmixer. Then mix in the eggs. Turn on the oven to 180 degrees C.
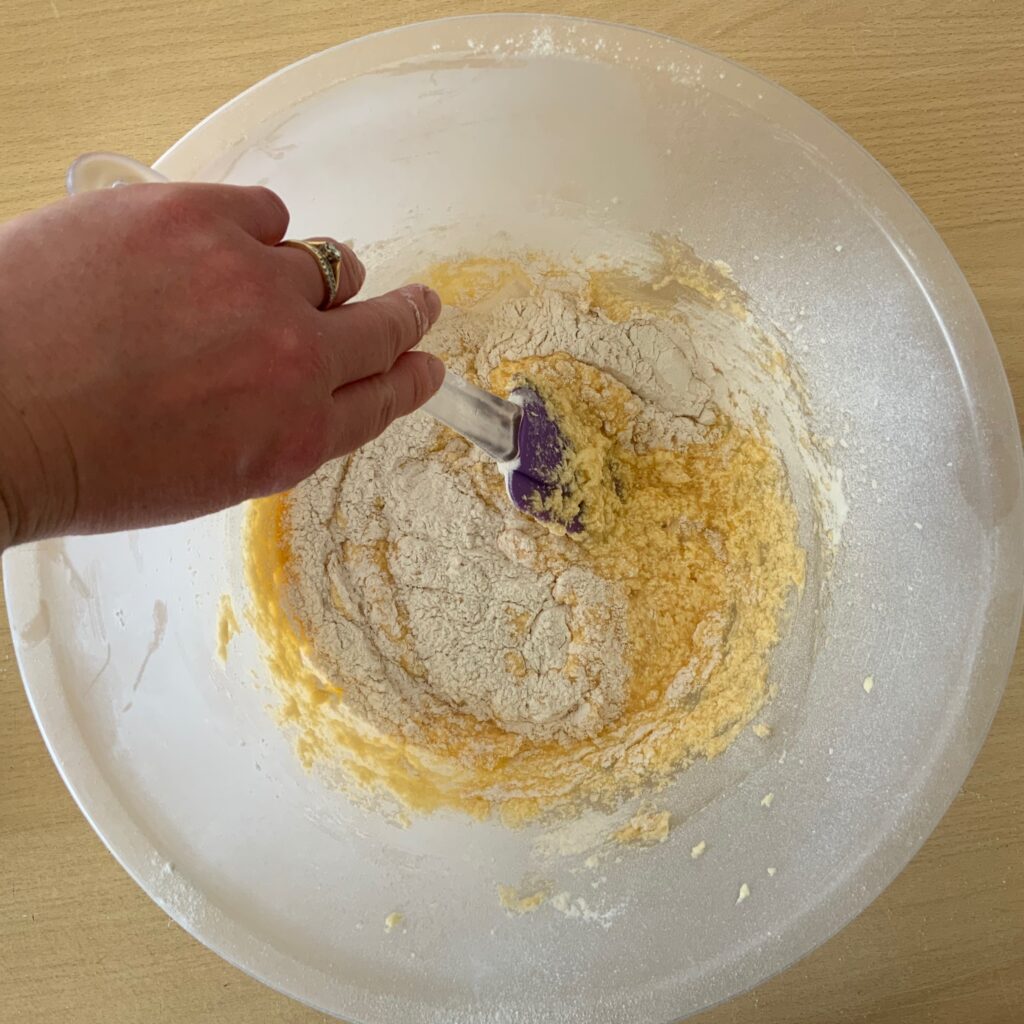
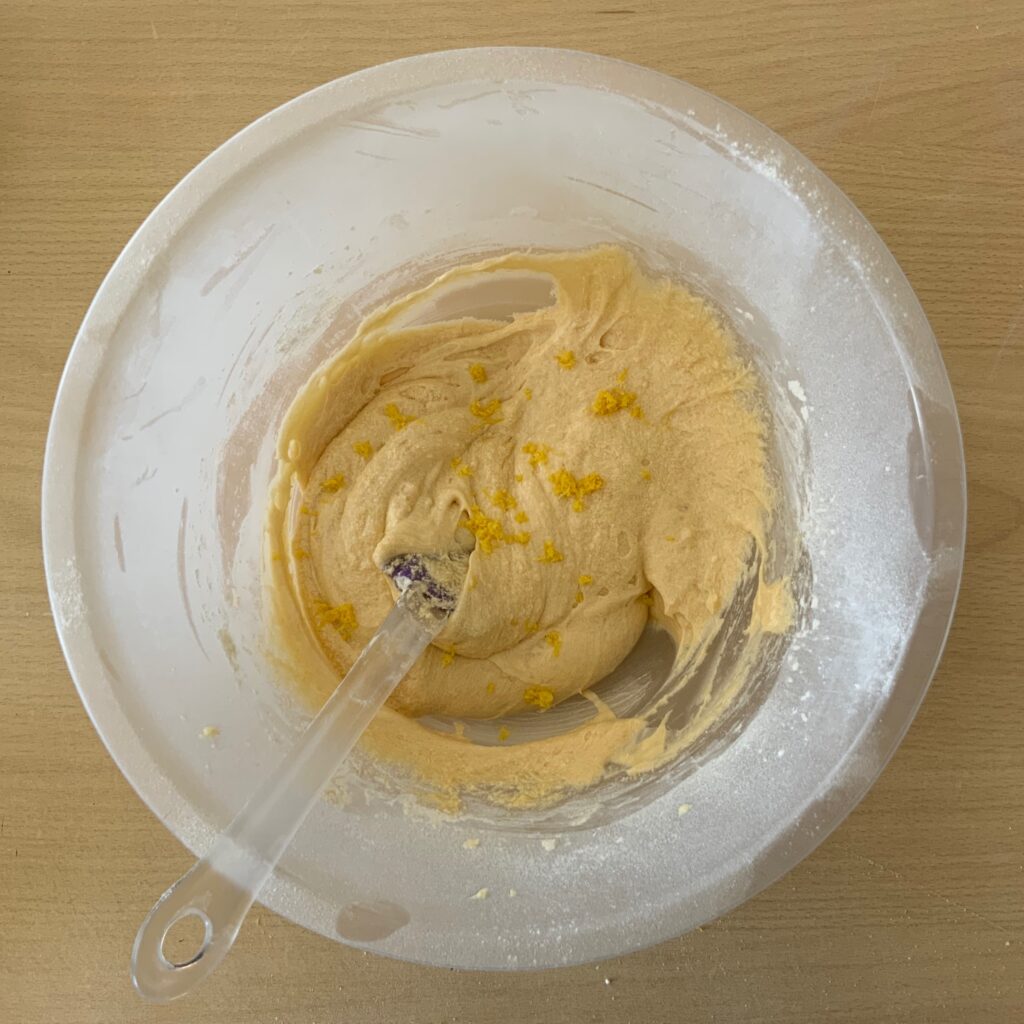
Step 2
Sieve and fold in the flour a little at a time until it is completely mixed in. Using a fine grater, grate the zest of the lemon. Sieve in the baking powder and add half of the lemon zest.
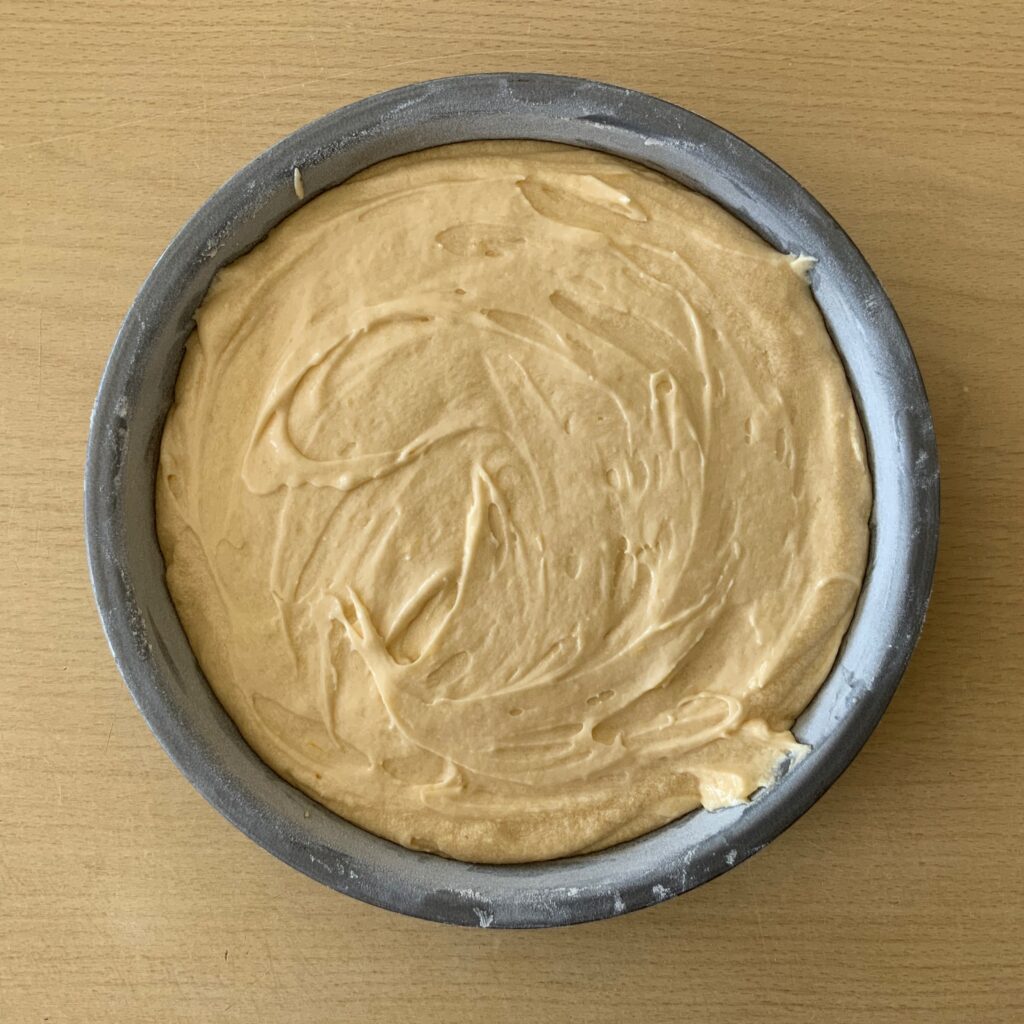
Step 3
In a greased and floured cake tin, evenly pour in your mixture. Put into the middle of a preheated oven at 180 degrees C for about 40 minutes.
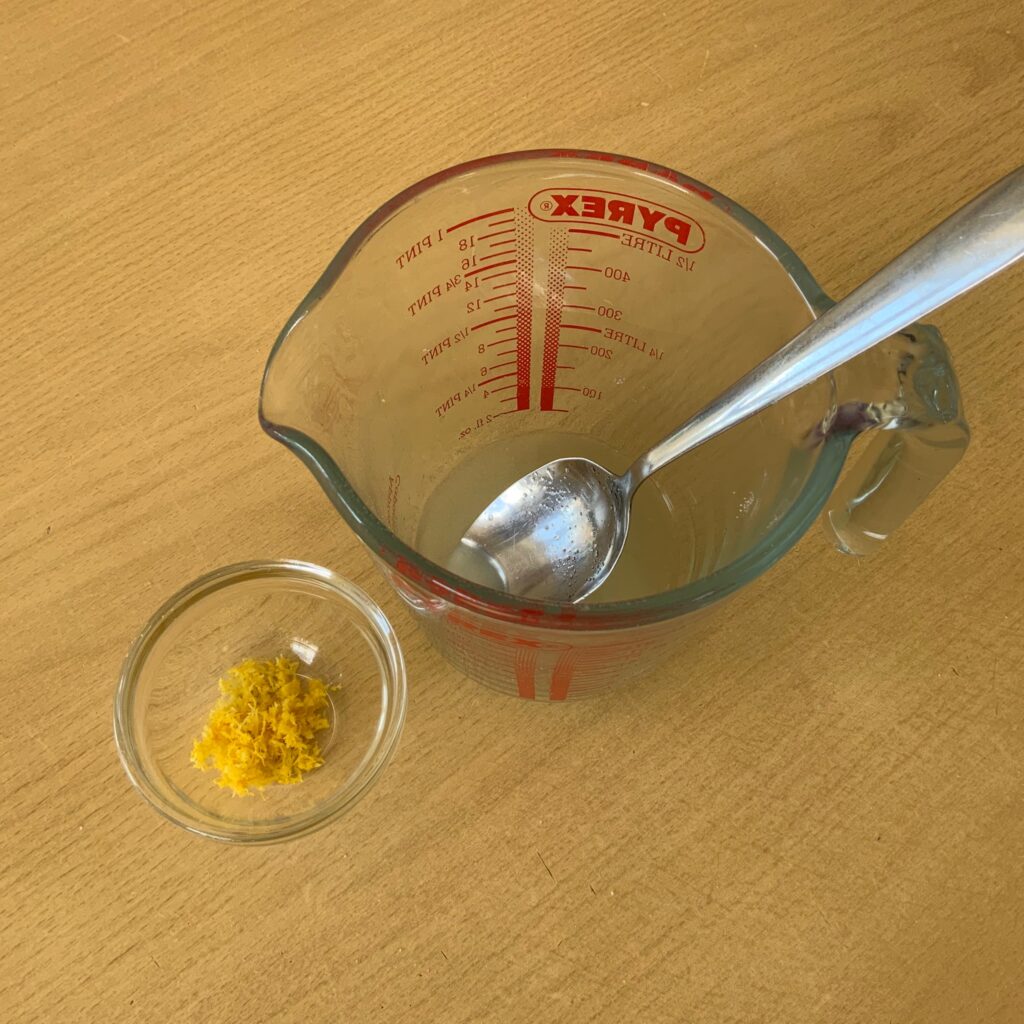
Step 4
While the cake is cooking, you can make the lemon drizzle. After juicing the lemon into a bowl or jug, start to mix in some icing sugar, a little at a time. I haven’t included an exact measurement for the icing sugar as this part is personal preference. If you want a zingy lemon drizzle cake, then you will want to only add a smaller amount of sugar and have a runnier drizzle. If you want a milder lemon flavour then add more icing sugar and make a thicker drizzle.
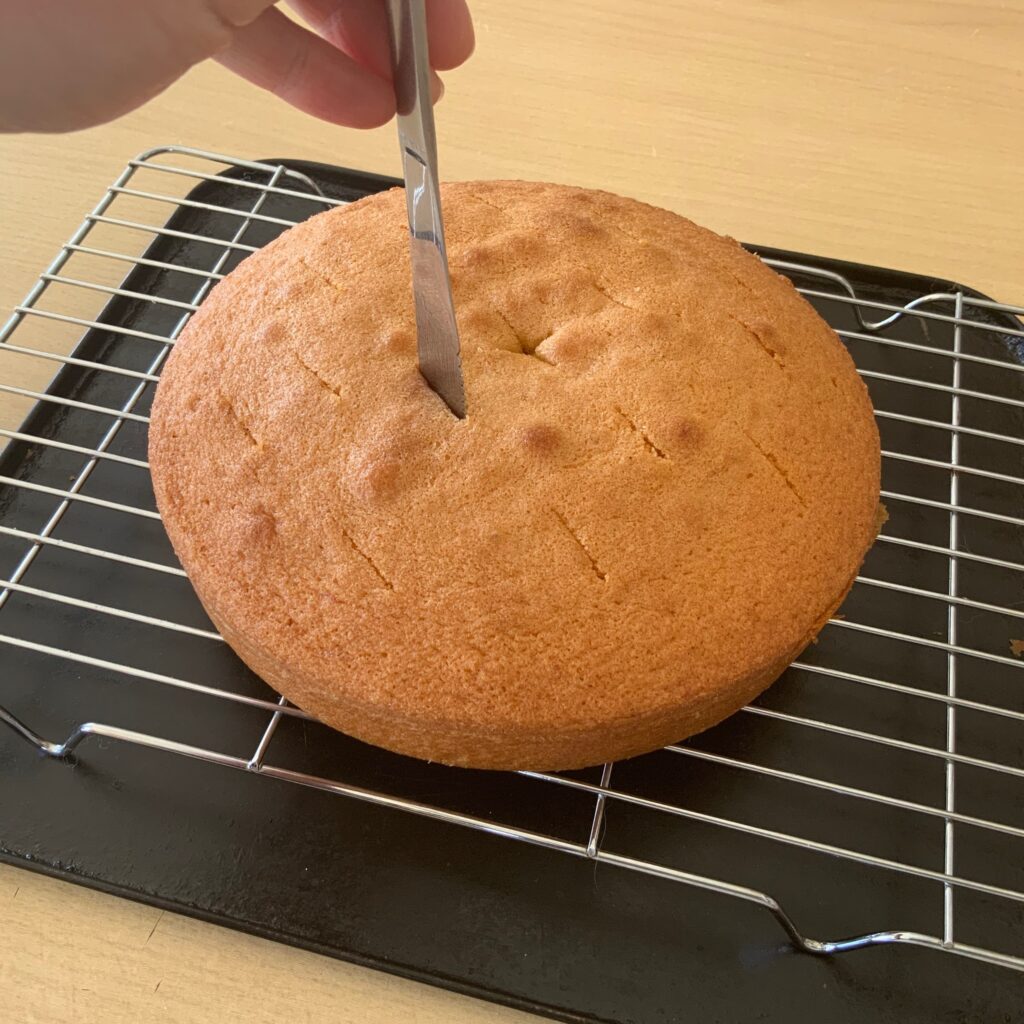
Step 5
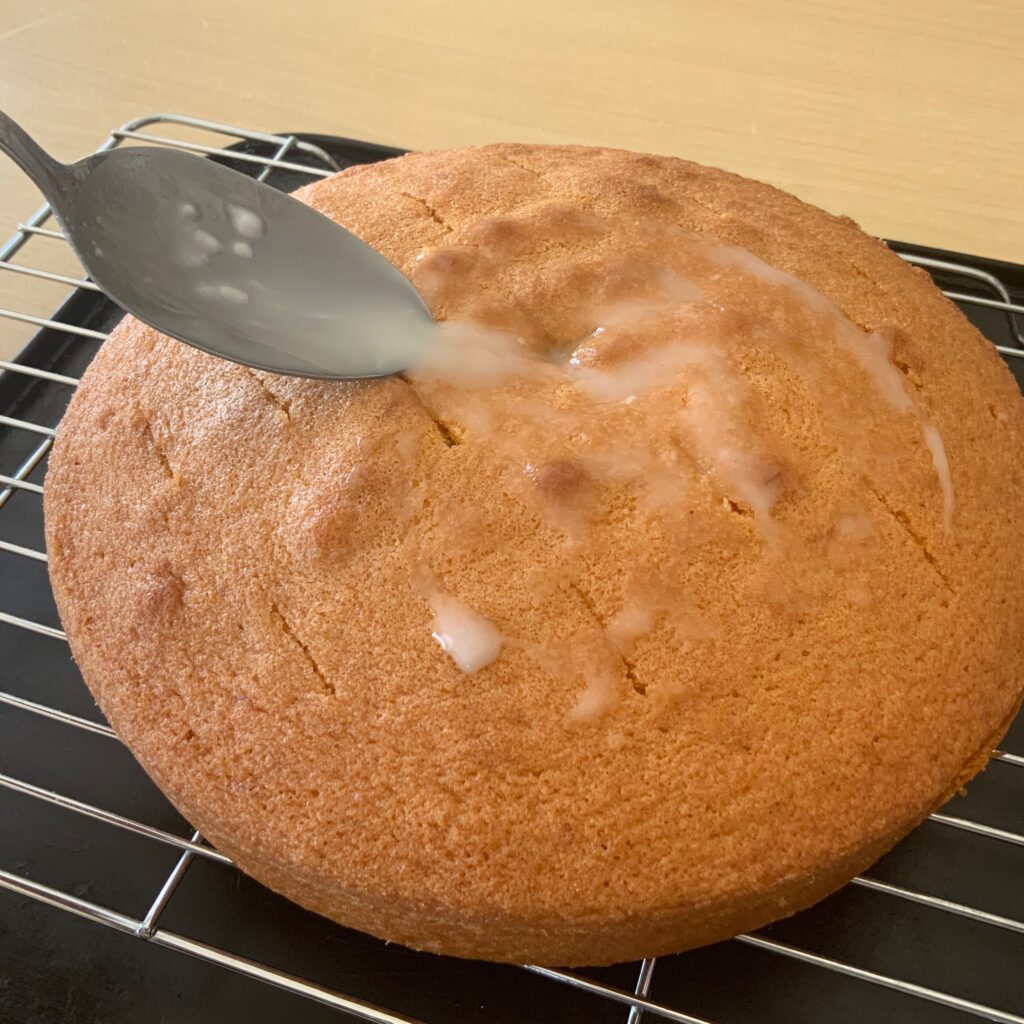
After the cake is cooked, remove from the tin and place on a cooling rack with a tray underneath. While it is still warm, pierce the top of the cake with holes. You could use a fork, skewer or a knife. The knife I used was a bit flat and wide and made the holes in the cake too wide, so I would recommend using a fork or skewer if you have one.

Step 6
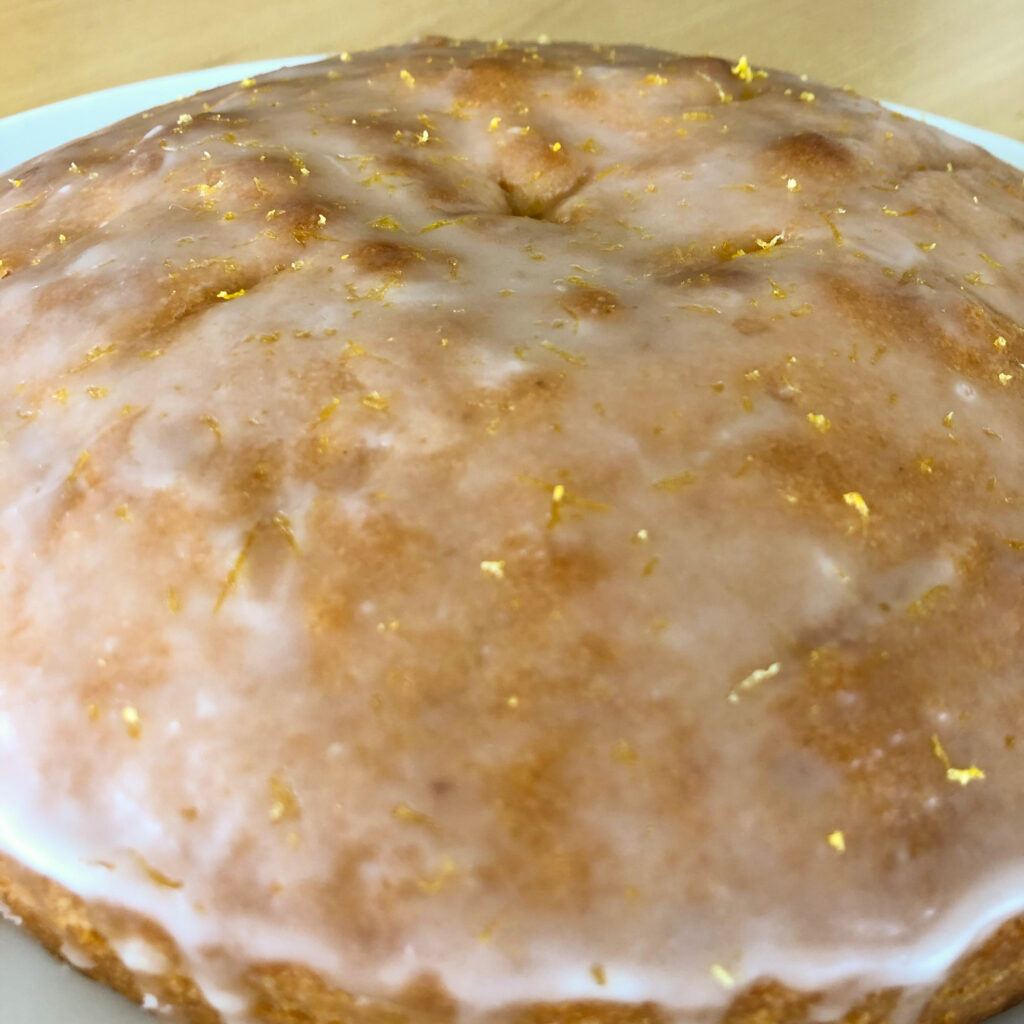
While the cake is still warm, spoon some of the drizzle over the top, making sure it goes into some of the holes you made. Leave it to cool a little bit, then spoon over some more of the drizzle. Repeat this process until all of the drizzle is on the cake. Then sprinkle over the remaining lemon zest.
Step 7
Enjoy!
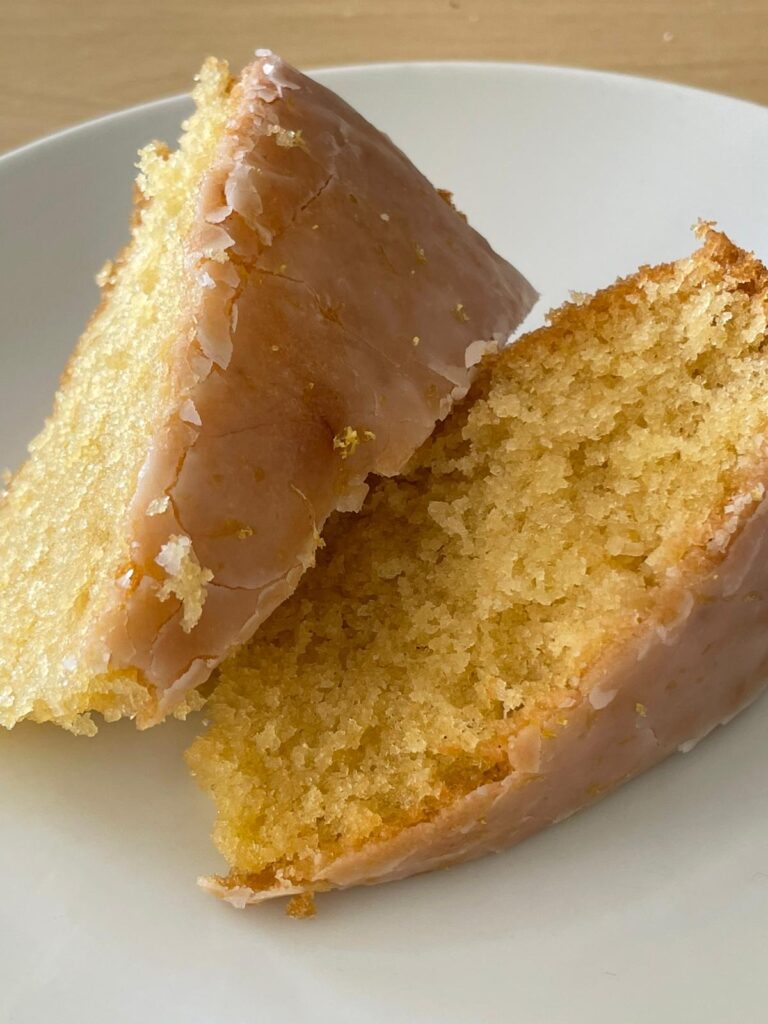
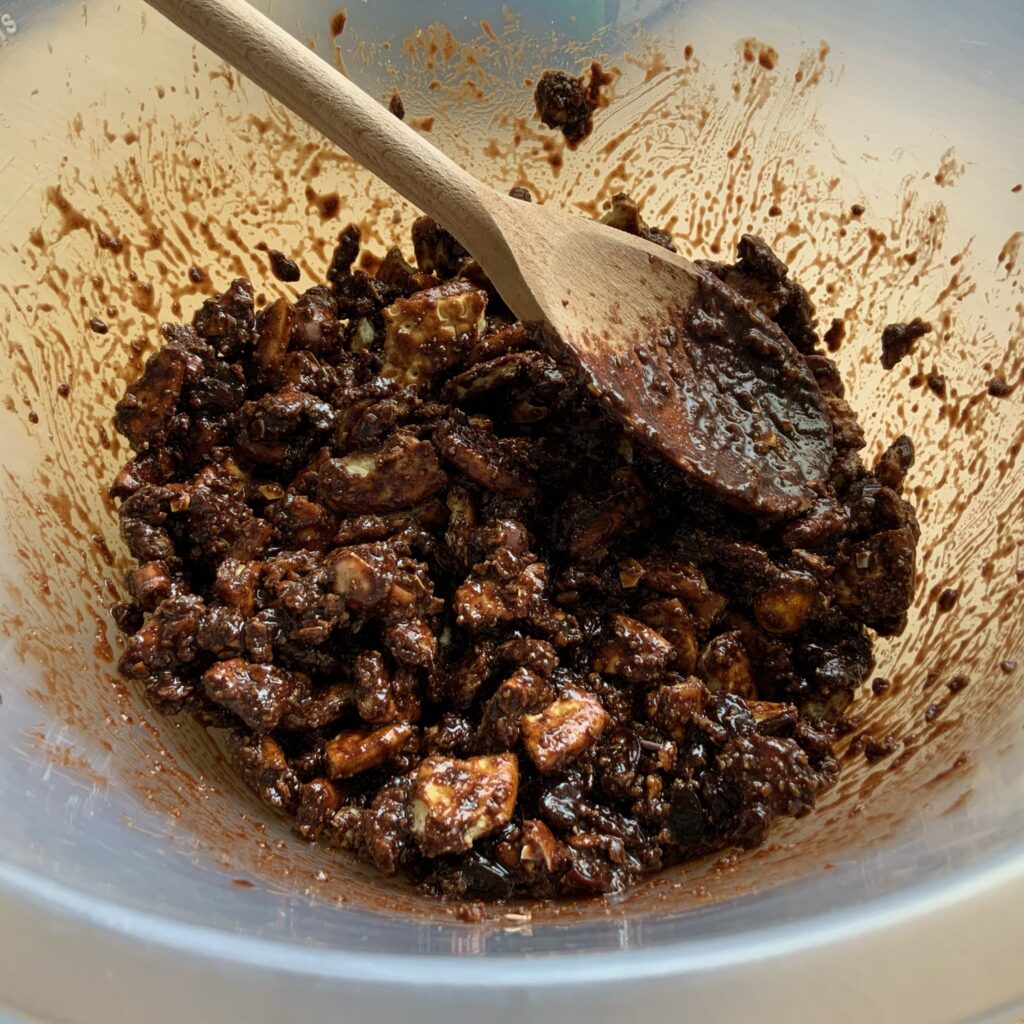
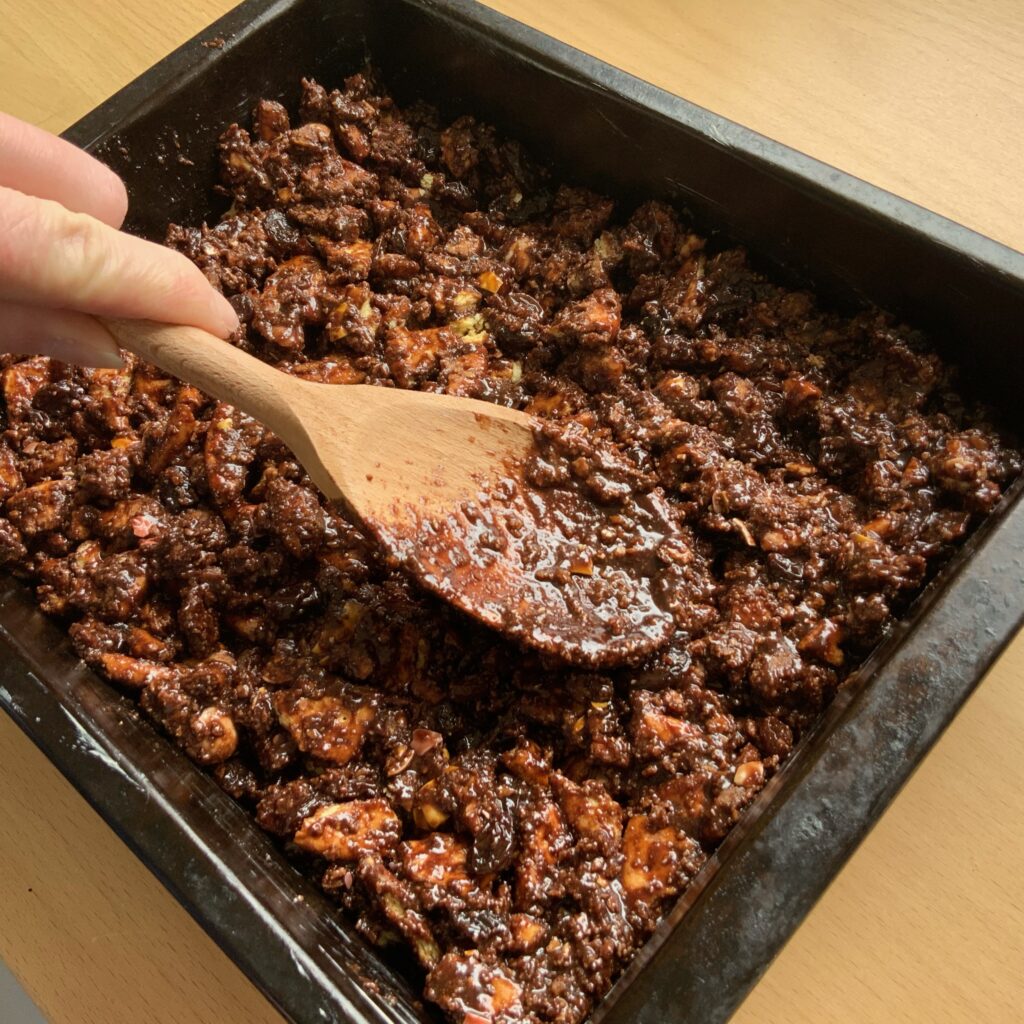
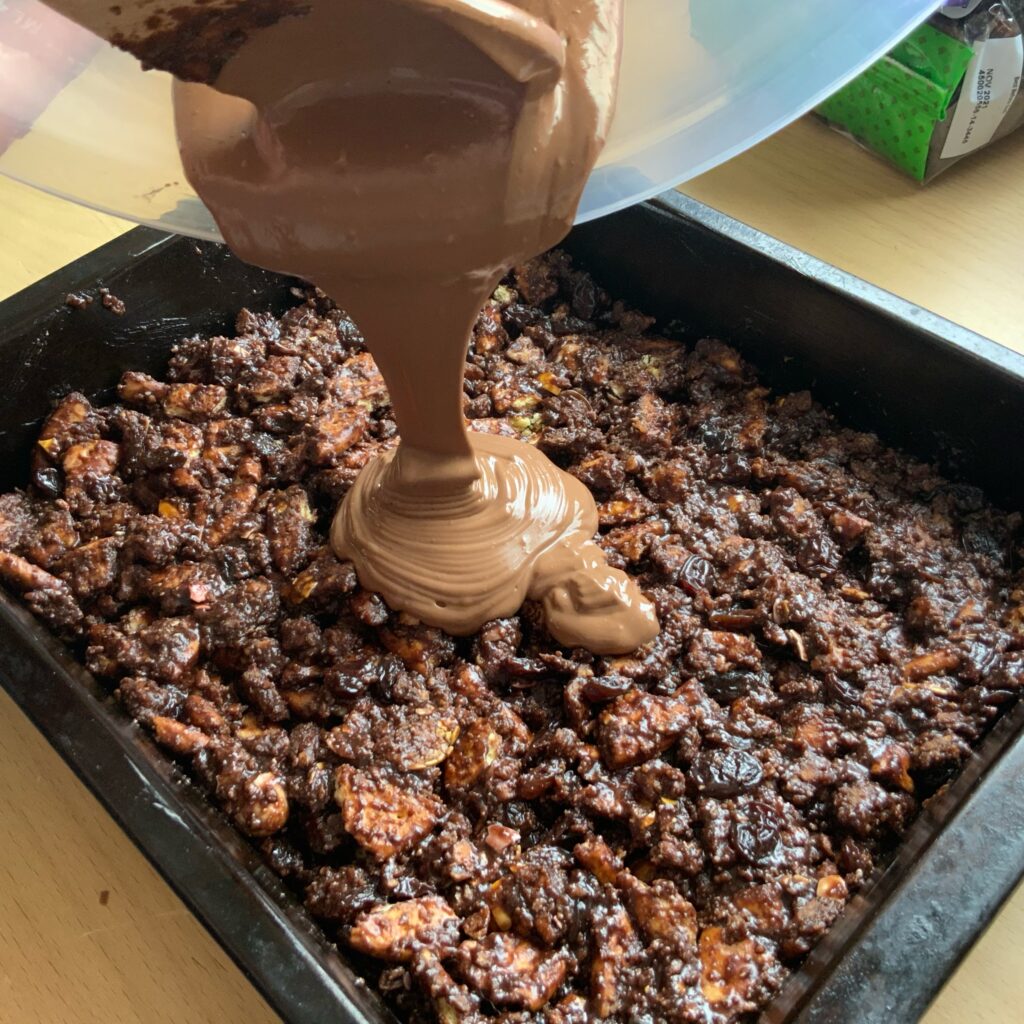
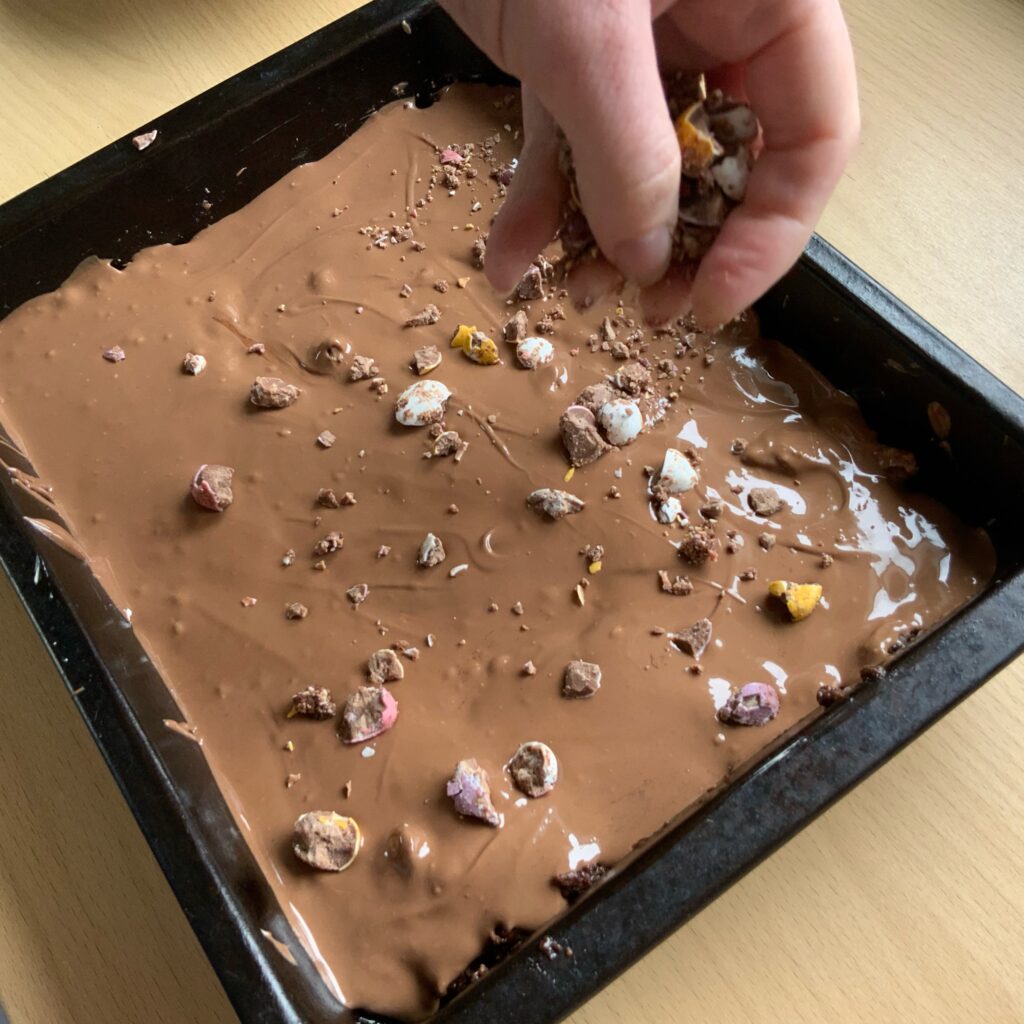
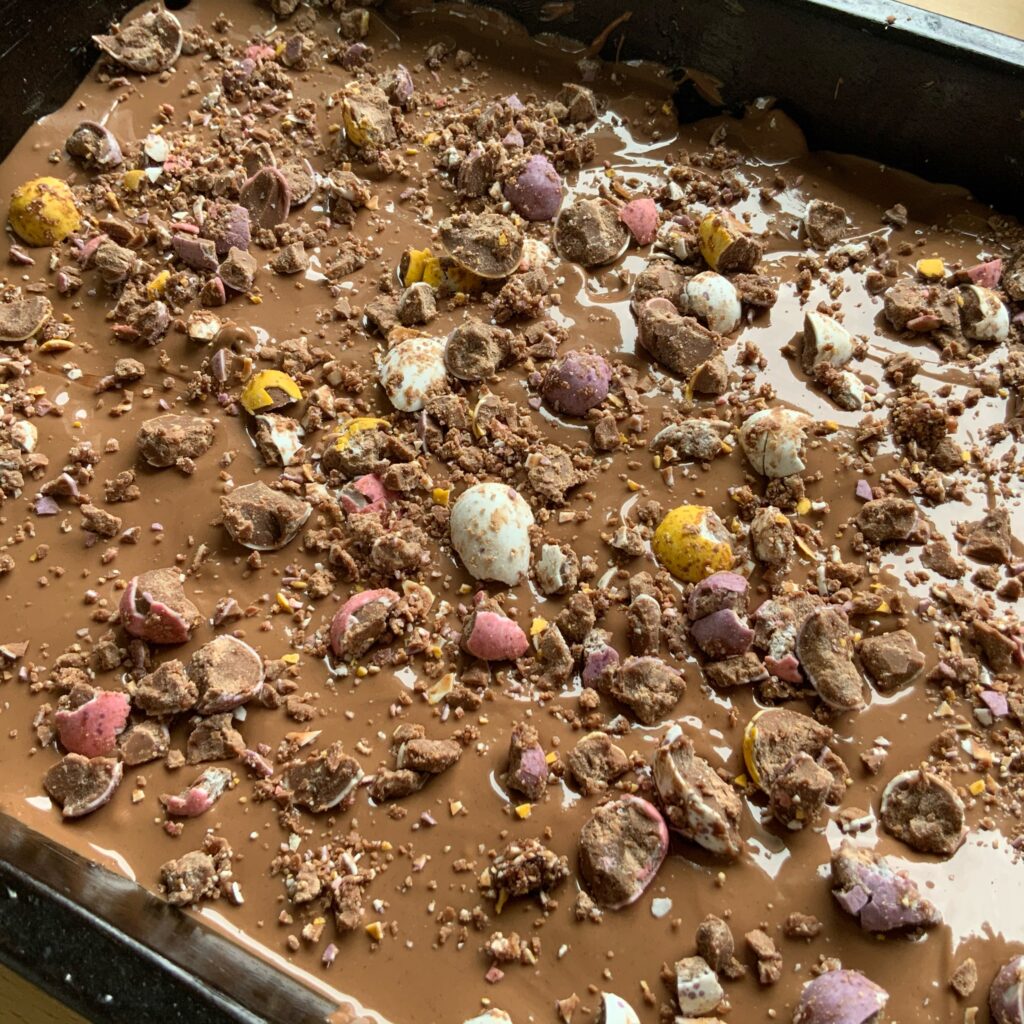
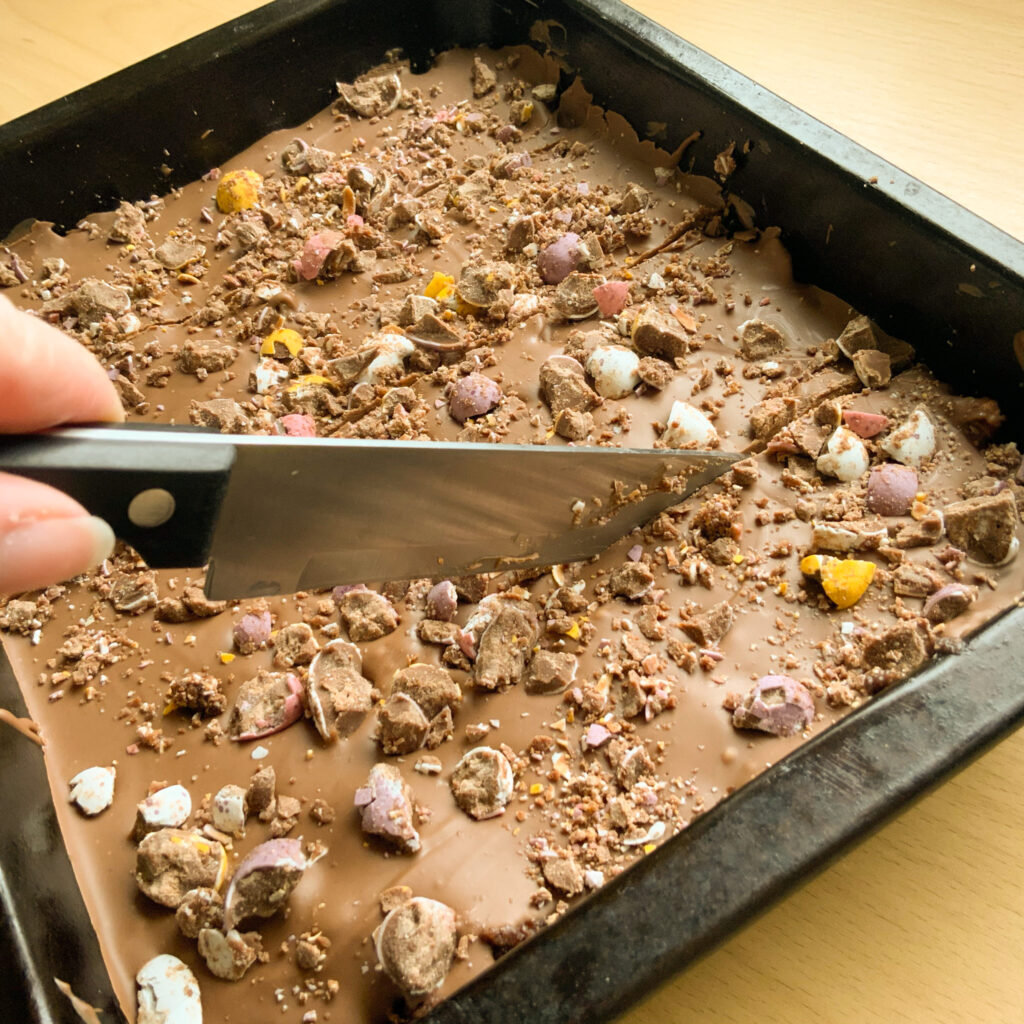
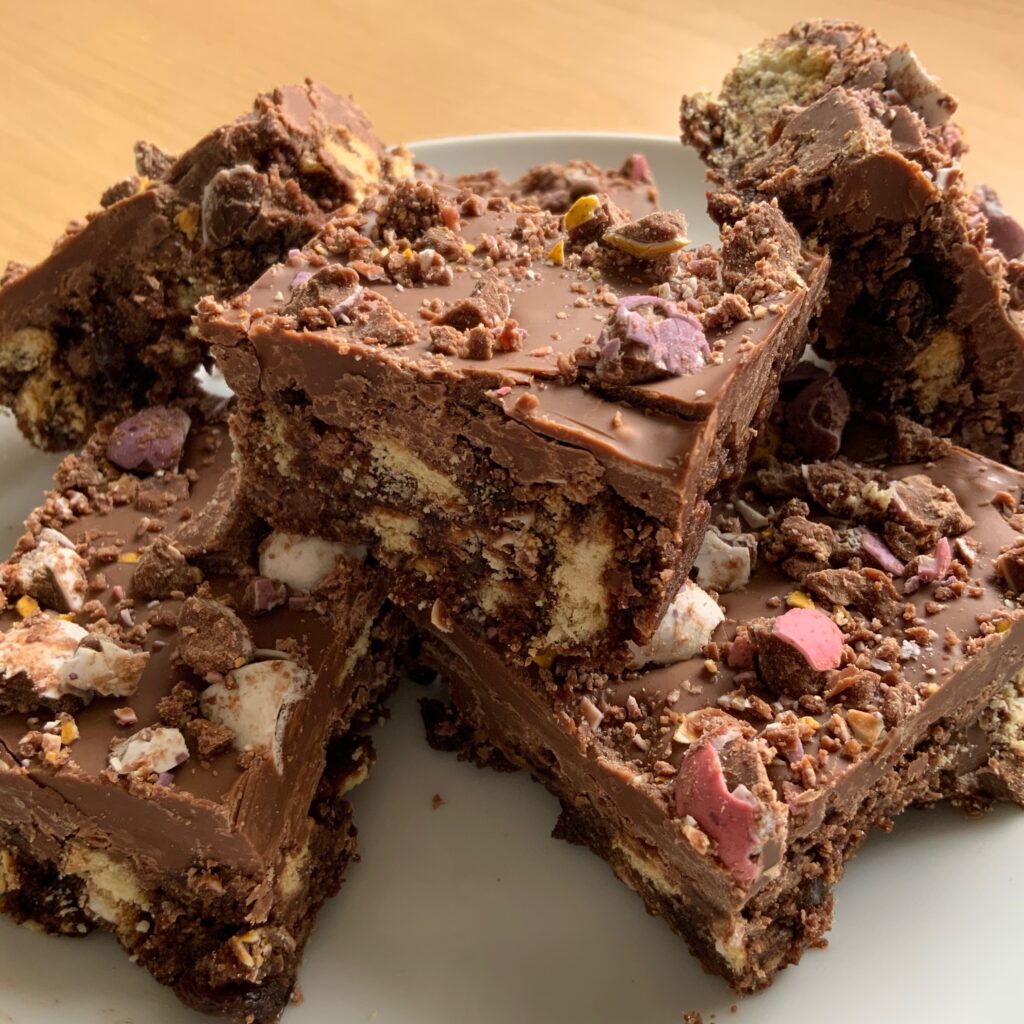
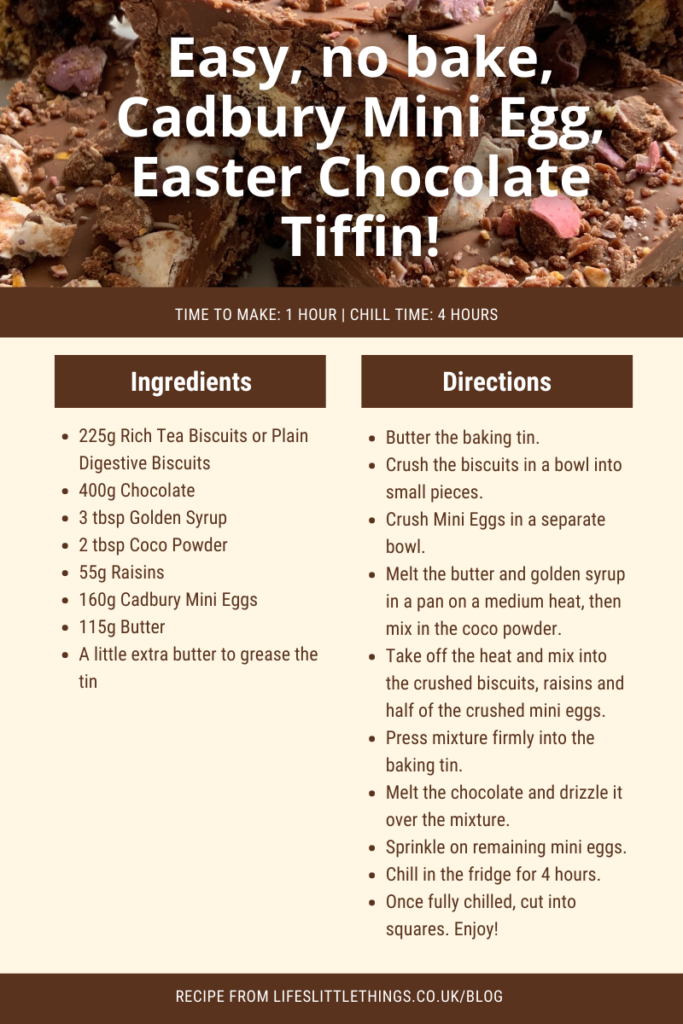
I really enjoyed making Life’s Little Things Luscious Lemon Drizzle Cake. It brought back lots of memories of eating it as a kid with my family and of my Nanny. Maybe Lemon Drizzle Cake isn’t your thing but there is another cake or food that brings you happiness that you could make. Or maybe if you fancy something chocolatey you could check out Life’s Little Things easy, no bake, Cadbury mini egg Easter Chocolate tiffin. I know its not Easter any more, but this still tastes just as good without mini eggs!
See you in 2 weeks for a special blog post. Its will be 6 months since I launched Life’s Little Things, so I wanted to do a little update on how things are going with the blog and the business. To see how this all started you could check out my first 2 posts Happy New Year and Welcome, and A little bit about me. For little drops of happiness during the week, head over to Life’s Little Things social pages on Facebook, Instagram, and Pinterest.
Take care,
Jem
X